
Do you know this query has a double meaning? Whether you need help with how I can attach or add arms that are already available with a futon, or you might want to add new arms that are crafted or bought from the store?
Do not worry because we will go through all these problems individually. Adding pre-existing or ready-made arms to the futon is easy, but adding new arms can only be possible with proper instruction.
In this blog post, we will guide you step by step on how to add arms to a futon. If you are ready, then let’s start.
Adding arms means you are facing problems in futon assembly, so for this, we have written a complete and proper guide on how can I assemble my futon easily. Keep remembering to check it out after reading this blog post.
How to Add Pre-existing or Already Available Arms to a Futon?
This is an easy and less time-consuming method and can be covered in the following steps.
1. Look for the Small Holes in Futon:
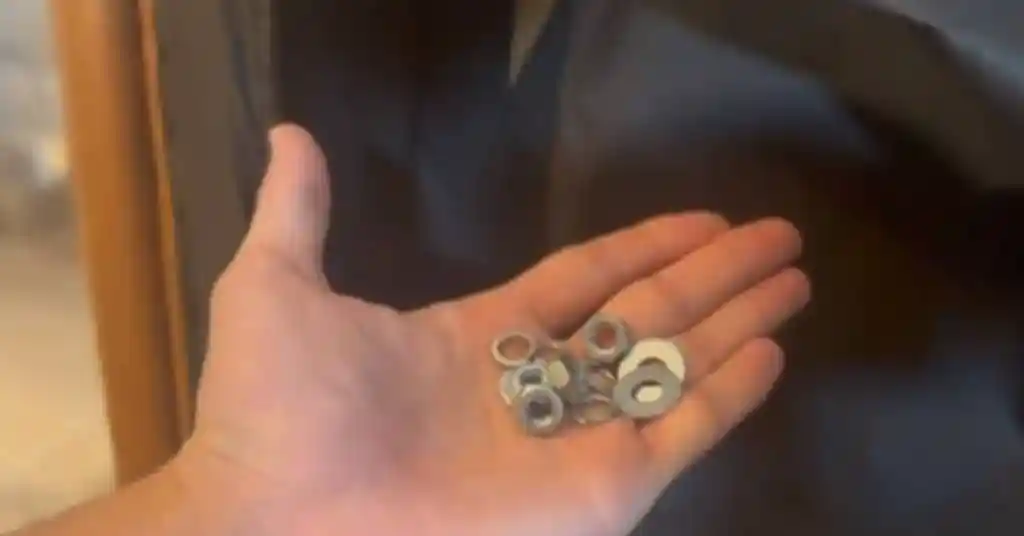
First of all, you have to find where I will adjust these arms in the futon. So, on the left and right edges of the futon, you will have some holes. These are the holes where you can easily add your futon arms.

2. Align Arms Clips or Pins in Front of Holes:
Now align the pins of the arm in front of the holes for best adjustment and insert these pins in these holes. If you are still facing problems, your alignment is not correct, so take the help of another person for success. After this, tighten the screws if available.
3. Check Arms Stability:
Check your futon arms to see whether these arms are stable or not. If the futon arms are shaking, then give more force to adjust completely and also tighten the screws. Now, your futon is ready to use with arms.
Most people find it challenging to find sturdy and heavy-weight supportive futons. For this purpose, we have written a complete blog post where you can find the best heavy-duty futons with a proper buying guide and product reviews. So remember to check it out.
How to Add New or Handmade Arms to a Futon:
Now it’s time to learn about adding new arms to the futon, which may be a challenging task without proper guidance. These are complete and usable steps to add crafted arms to your futon, so without any delay, let’s start.
Materials You’ll Need:
- Futon Arms:
- Screws and Bolts:
- Drill and Drill Bits:
- Screwdriver or Screw Gun:
- Measuring Tape and Pencil:
- Sandpaper:
- Stain or Paint (optional):
1. Measure and Plan:
Measure the width of your futon frame to determine the appropriate length for the arms. Decide on the desired height as well.
2. Prepare the Arms:
Cut the lumber or metal to the desired dimensions. Sand the edges for a smooth finish.
3. Mark and Drill Holes:
Mark the locations on the futon frame where the arms will be attached—drill pilot holes in both the arms and the futon frame where the screws or bolts will go.
4. Attach the Arms:
Position the arms against the futon frame, aligning the pre-drilled holes. Secure the arms using screws or bolts, ensuring they are level and firmly attached.
5. Finishing Touches (Optional):
Stain or paint the arms to match the existing futon frame. This step adds a personalized touch and enhances the overall beauty of the futon.
6. Test the Futon:
Once you securely attach the arms, now test the futon to ensure that it functions properly. The added arms provide extra support and comfort.
Final Thoughts:
After following our guide, you are able to add arms to your futon. The first process is easy and takes less, but the second process is time-consuming and challenging due to adding new arms to a futon. If you can not do it all yourself, you can call an expert carpenter.
If you still need some help, you can contact us in the comment section. Thank you for visiting our website. We only post articles about futon, so remember to revisit our website. Take care of yourself and your beloved.